
... all of a sudden, the exterior is (almost) finished - from a plain sheet of plywood, I have built a house.
Now, the idea for this blog was to have somewhere to make 'note-to-self' to record how I got there, but looking at it now, I realize, I probably should have written a bit more along the way. Never mind, here is goes:
After I had stacked the three room boxes it was finally time to get to work on the exterior. The house front was going to be hinged and the roof (for now) lifts off completely. so I figured it would be easier to do as much of the finishing as I could before attaching the front.
First up, my handy husband helped me cut the holes for windows and door. I taped off the openings from the inside, so the render would go a little bit up over the window and door frames.

The outside is painted with satin acrylic paint. It was way too 'perfect and too shiny so I have it a few washes of cream chalk paint over the top. Again, I have tried to deliberately make the paint a little uneven to look older and a bit weathered.

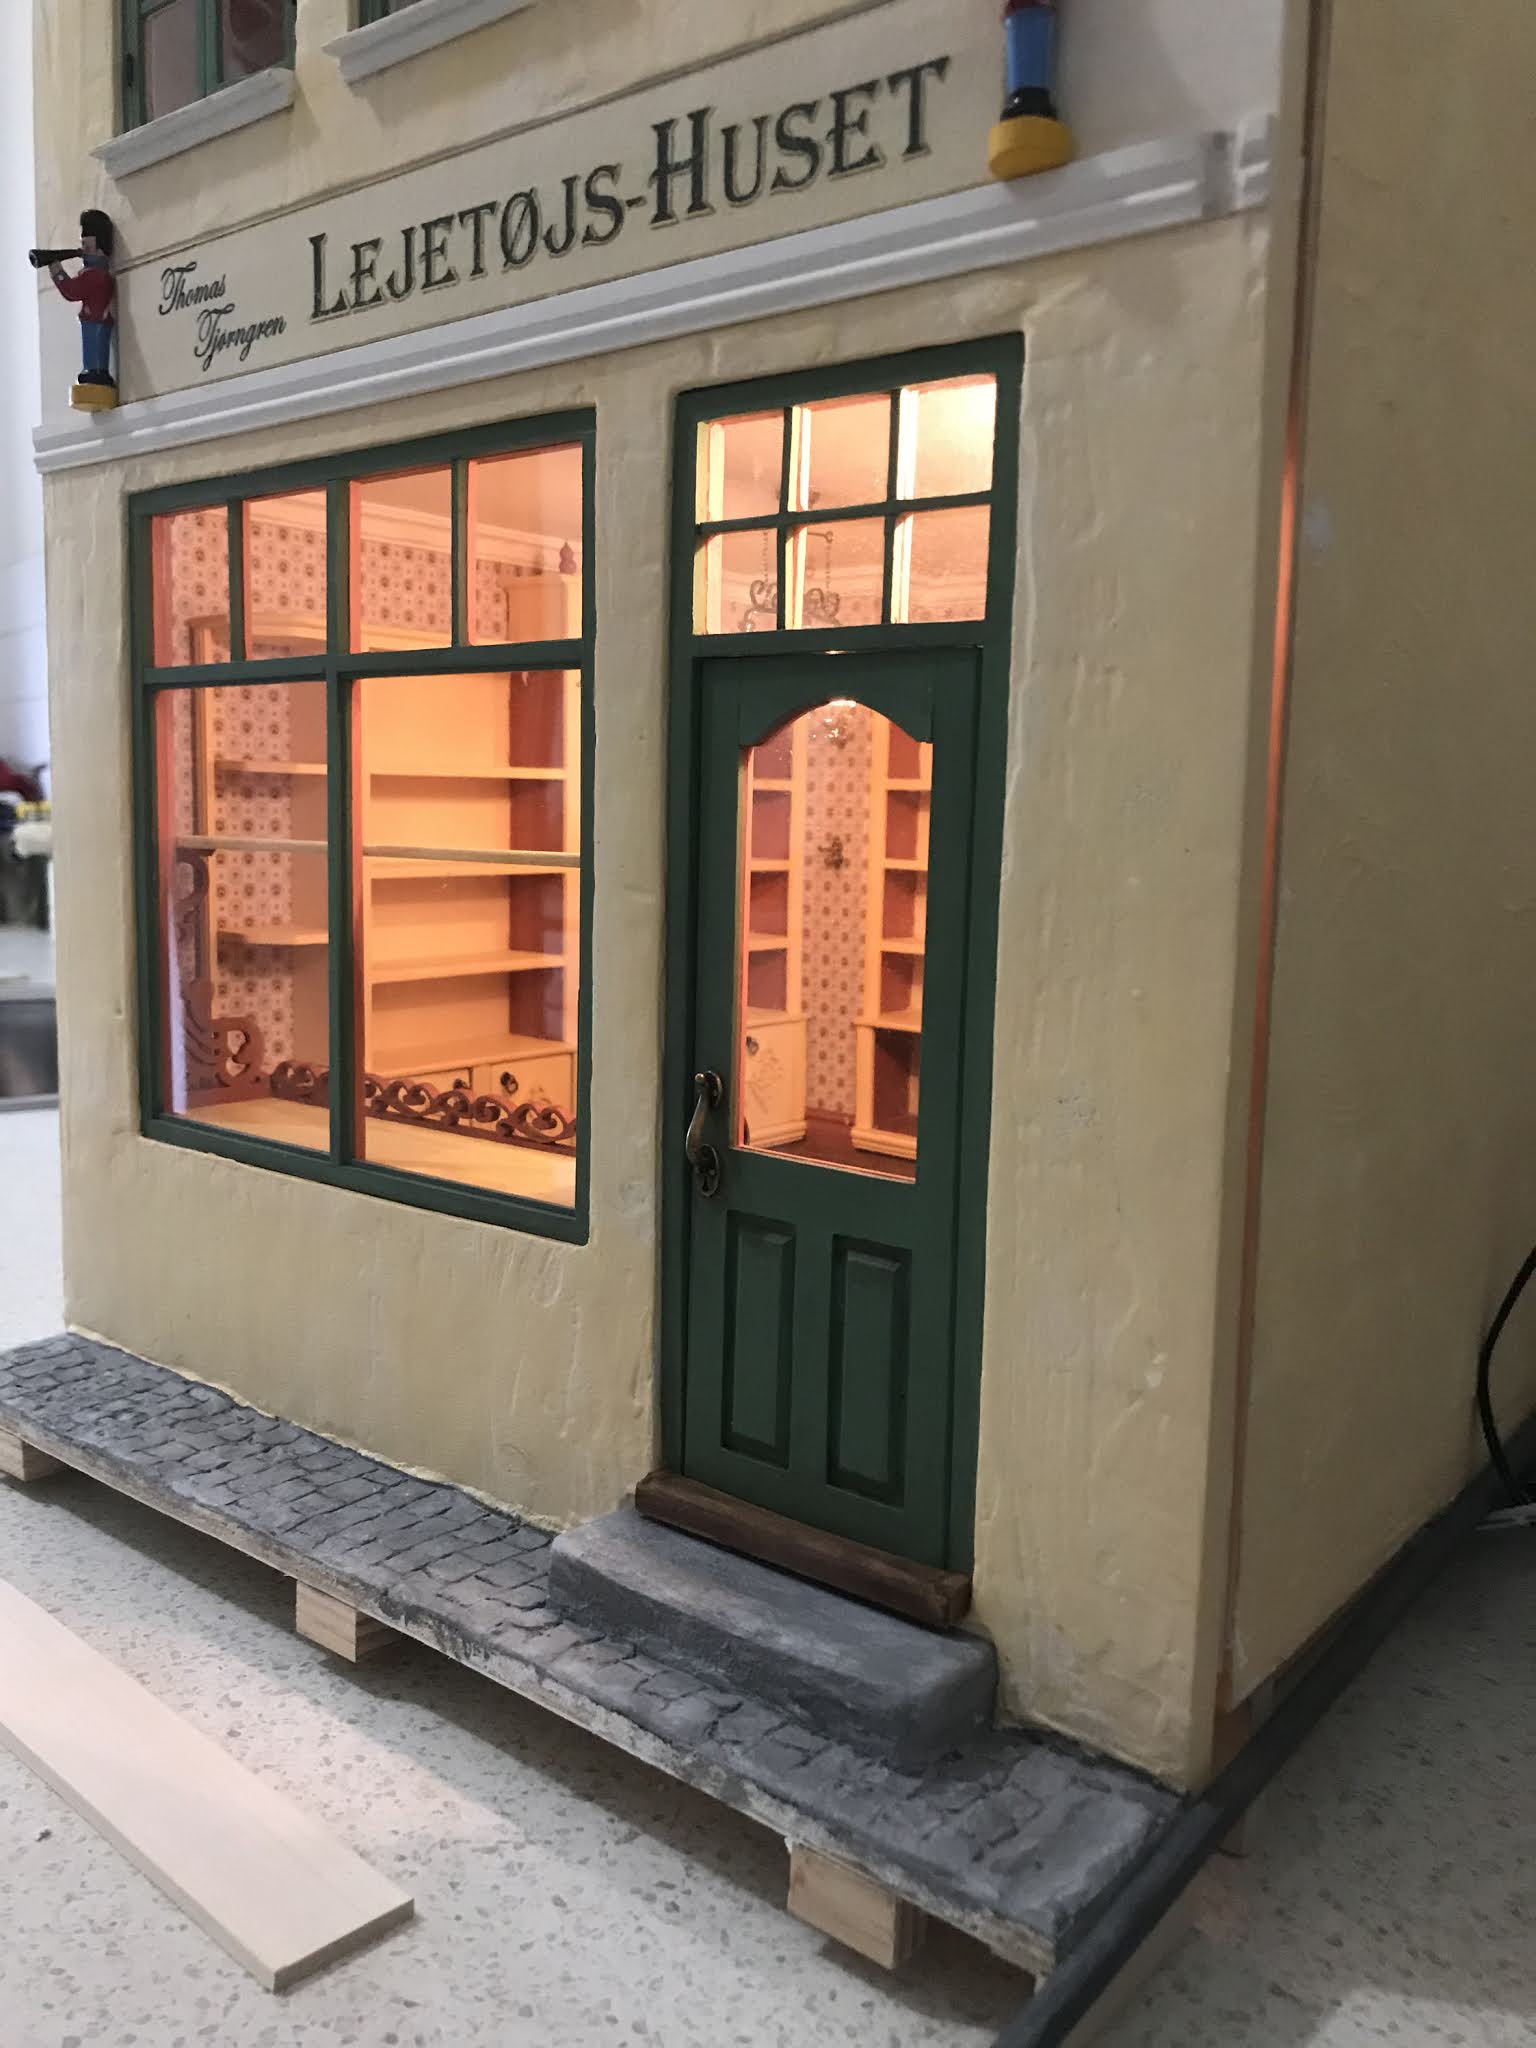
I had not rendered the area behind the shop sign. I painted that section a slightly lighter shade of the wall colour and added a timber moulding (upside-down skirting) for the detail below. That also gives the wee soldiers at each side of the shop sign something to stand on :-)
I am no good at painting, so I printed the sign onto watercolour paper (I like the texture). I then carefully went over the lettering with paint and a fine gold pen before giving the sign a very light sand and carefully 'aged' it with the tiniest bit of very weak tea.
I had made all windows and adapted this door ages ago and had them painted and stashed away in a box, waiting to be popped into place. All the windows are made from strips of card stock with balsa wood frames. Back then, I wasn't taking picture, sorry.
I had removed the original door frame so that I could add a fanlight above and by doing so, make it the same height as the shop window.

The windows for the apartment and loft are all hinged, using This Tutorial for paper hinges by Aurelea Krieger. To make them a little stronger, I mixed the paint with pva glue and gave them a very generous coating. They are still not made for constant opening and closing, but the glue certainly makes them a little more durable.

You will notice the windows open out which is most common in Denmark. I have added little knobs (pins) on the inside but I must confess, I stopped short of adding hooks and latches to keep them closed. Maybe next time...
Next up was the front step and narrow cobblestone footpath. The step was pretty straight forward, made from a block of balsa, suitably sanded for wear in the middle. I had imagined that I could make the cobblestone from air-drying clay and glue it in place but as it turned out, it shrank too much and just wouldn't work. Instead, I opted for the same filler and glue mix I had used for the walls and then scored the lines between the stones before it was completely dry. This wouldn't work for perfectly even paving stones but for uneven cobblestone I think it does the job just fine.
I have since neatened the front of the footpath with a bit of timber, but I haven't decided yet if I will simply paint it or clad it with 'bricks' or 'stones'.

I had a fabulous time painting and aging the exterior and the cobblestone was especially good fun. I still want to add a bit of moss and perhaps a dandelion or a few tufts of grass growing in the cracks here and there.
The down pipe is made from a length of 6mm (1/4") balsa dowel. To make the spout, I wrapped the end with a bit of card. The brackets are also made from card with black marker dots for bolts (Thanks to Brae on Otterine's Miniature).
I also added card brackets to the ready-made gutter so it didn't look like it was 'just stuck' onto the wall.

I was pretty pleased (and surprised) that I managed to cut the angles for the bends at the top of the downpipe correctly. The fact that it is the right distance from the wall to fit the gutter at the top is a complete 'fluke' - I was so focused on cutting the angles right that I forgot to measure it other than by just holding the piece against the wall. You have to be lucky sometimes.
And with that, the facade is pretty much done and my plywood boxes have become a house.
But there is still the 'almost finished' left. You would have noticed that the roof is just painted - for now. I am still working out what to do about tiles. I have been trying to make them, but that is a story for another day....
Have a lovely week everyone.
Anna X